So, gel-plate monoprinting, then.
The distinguishing feature is the gel plate, a floppy slab of some surely quite unholy petroleum derivative which, due to its chemical make-up, doesn’t permit printing inks or acrylic paints (or various other media) to bond permanently to its surface.
Monoprint means just what it says: it’s a print method in which every print is unique. A less aspirational way to phrase that might be: you never know what you’re going to get. (Especially when you’re still in the process of acquiring the requisite feel for the medium, so to speak.)
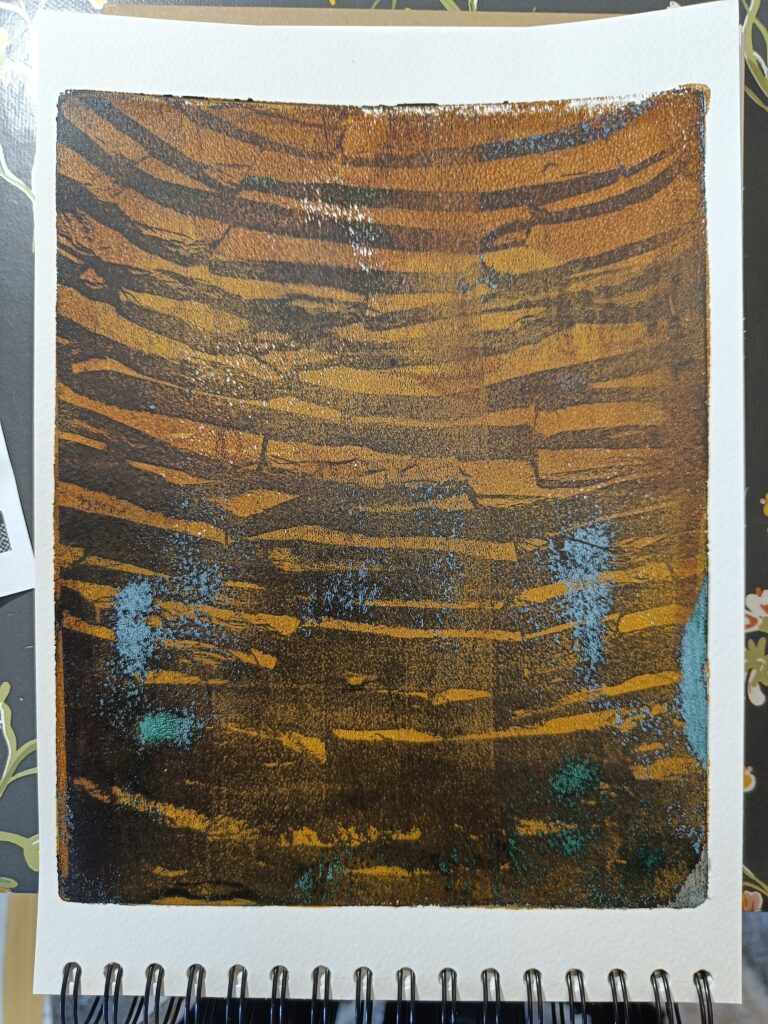
I’m working mostly with acrylic paints (medium quality heavy-bodied; Amsterdam Standard, if you’re playing along at home). The most basic method is just to roll out a thin layer of paint with a printer’s brayer, then slap a bit of paper on top and wait for the acrylic to dry. As it does so, it should bond to the paper, meaning when you “pull” the print, all the paint peels away cleanly from the plate and stays on your paper.
In practice, you never get all of it up—at least I never do, though there are various masters of the medium on the internets who seemingly leave the plate clean enough to eat their dinners off with every pull. (This may be as much a matter of skill at video editing as of skill at monprinting, I guess.) Knowing when it’s dry enough is part of the knack, and that’s a function of how much paint you used, of which type(s), in how many layers. Destination medium (i.e. paper choice) is also a factor; nice heavy art papers get a nicer finish and dry the paint quicker, because more absorbent, but are also expensive (and no use as collage material, other than as base layers).
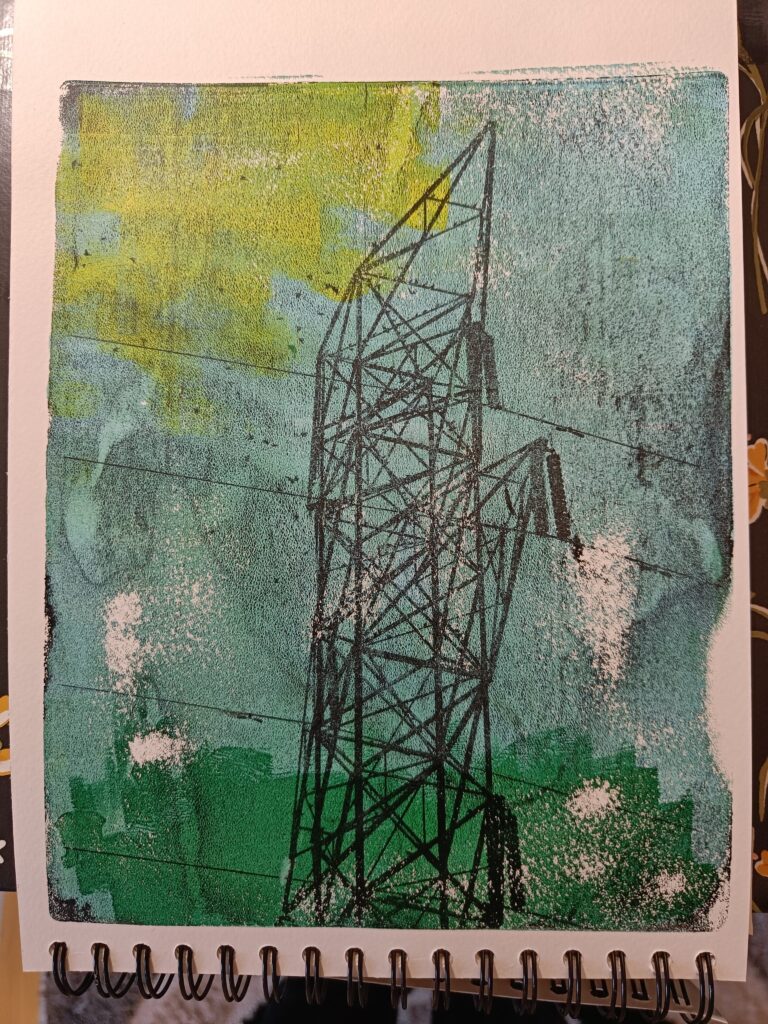
Having got the basic knack of simple pulls and layered pulls, I’m now chasing my personal grail of method: image transfers. Technically this is a form of resist printing. Put down a layer of (ideally, or most easily) dark paint on the plate, not too much but not too little, then slap a high-contrast laser-printed black and white image face down on top of the paint; rub with gentle finger-tip pressure all over the back of the print-out for ten, fifteen, twenty seconds? Peel it back off, and you should find a ghost of the image left in paint on the gel-plate: something in the laser toner resists the paint being taken up, but the white paper should happily slurp up most of the rest.
Let your transferred image dry fully on the plate, then start putting layers on top of it; these layers will appear behind the image when you pull it up, so they need to be lighter. The use of multiple layers and other techniques can produce some really spectacular results; I’m still at the stage where I’m happy if I get a recognisable image with a coloured background, which is juuuuust starting to be a more-often-then-not outcome (as illustrated).
This means I can clone specific images in an appealingly low-rez sort of style, and/or use pattern and texture from all sorts of sources, all of which unlocks a vast array of possibilities…
Leave a Reply